
Everything you need to know about when to plant and maintain flowers, plants, and vegetables at home!
1. Understanding the Basic Needs of the Plants
Plant requirements
There are five basic requirements for a plant to survive and truly thrive.
- Air: Just like us, plants also need to breathe. They need oxygen in order to be able to convert the nutrients they consume into energy. That said, it’s important to ensure that the plants in your garden are able to access good, consistent airflow.
- Light: If you know anything about plants, you know that they use the process of photosynthesis in order to turn sunlight into energy. Without adequate light (either in the form of sunlight or an indoor light), the plant will have trouble producing carbohydrates, which will ultimately deplete their energy reserves and make it difficult for them to survive.
- Warmth: Plants have an optimal growing temperature that allows them to truly thrive. While some plants are able to handle winter temperatures, and others are able to adapt to small, short changes in temperatures, many will require consistent, higher temperatures to help them optimally maintain their growth processes.
- Water: Adequate water is one of the most critical factors in order to ensure a healthy plant. Water in a plant works much like blood in our bodies. It transports nutrients to different parts of the plant and also helps it maintain a good temperature. Through a process called transpiration, plants lose water from the surface of their leaves, meaning that regular watering will be required to help them maintain a healthy structure.
- Nutrients: While plants are able to convert sunlight into energy, they also require nutrients to thrive. Plants cannot grow in dirt or soil that’s infertile because they need specific nutrients to maintain healthy growth levels. Plants can get nutrients from the decomposition of fallen leaves or other plant material, as well as from animal or bird droppings. We can also amend the soil to provide nutrients through the addition of compost, fertilizer, and other products.
Plant threats
Just as important as it is to provide plants with all of the requirements for growth, it’s also important to be aware of any threats that might damage or even kill the plants in our garden.
Some threats to keep an eye out for include pests (insects, deer, rabbits, birds), weeds, fungal infection or diseases, erosion, drought, contaminated soils, heavy foot traffic, pets, and invasive plants.
How to Assess Soil Quality in Your Garden
Monitor the pH
The first action to take after you’ve learned about the individual needs of your future plants, before selecting seeds or digging out a garden bed, you want to conduct a soil pH test.
This is important because most plants can only access the nutrients contained in soil when the pH is at a certain level. If your soil is outside of the preferred pH range, plant food and/or fertilizer will only do so much to amend it, and may still leave your plant suffering.
So, add “testing pH” to your fall cleanup to-do list. A DIY approach [6] is simple:
- Remove a soil sample (at least 4-6 inches below the surface), and then add enough water to turn the soil into mud.
- Then, add half a cup of vinegar and stir. If you see any bubbles or the soil fizzes or foams, this indicates that you have an alkaline soil.
- Repeat the process, but this time with half a cup of baking soda and a gentle stir. This time, if you see any fizzing, foaming, or bubbles you can assume that you’ve got acidic soil.
You can also purchase pH soil strips that will provide you with an exact pH reading. These can be purchased at most hardware or garden centers and are also available through some local cooperative extension offices.
A soil test kit which will help you determine the mineral and organic matter composition of your soil. The directions vary for the type of soil test kit you use, but you’ll likely undergo a similar process that involves removing some soil samples and mixing them with water.
Alternatively, you can work with a professional to have a soil test done for you. In many cases, these are more thorough and may be able to provide information that a soil test kit will not.
In Massachusetts, the Extension office accepts soil samples for analysis. More information can be found on their website.
It’s generally thought that there are 12 different soil types found around the world [7]. These include permanently frozen soil (“permafrost”), histosols (fens or peatlands), and spodosols (healthy soils with colorful subsoil horizons)—to name just a few.
Additionally, each state is known for having an official state soil. In Massachusetts, that happens to be Paxton soil [8]. This is a type of soil that is made up of well-drained loamy soil and layered with wind-deposited material that sits atop of old glacier rock. Generally speaking, our Paxton soils have a high water-holding capacity and make for great agricultural soil.
As a reminder, the ideal soil is generally considered to be composed of 40% sand, 40% silt, and 20% clay [9]. This is also known as loam.
- Loam: Loamy soil will have small clay particles and larger sand particles that do not hold onto moisture but still provide aeration.
- Clay: Soil containing a lot of clay will generally become compacted easily and the hard soil may be difficult for plant roots to penetrate. However it does provide a more stable environment and some of the other soil types, and is able to hold more water.
- Clay Loam: This soil mixture has very small clay particles, making it a dense, heavy, and sometimes difficult type of soil to work with.
- Silty Clay: With silty clay, clay makes up more than 50% of the soil, along with silt (inorganic particles) that give it a gray-brown color.
- Sandy Loam: With a high concentration of sand, this soil type has a gritty texture and allows for quick water drainage. However, it is unable to hold water or nutrients, meaning that plants will often require soil amendments like fertilization and more frequent irrigation.
- Loamy Sand: This is another type of soil that is generally welcomed by gardeners as it is composed of sand mixed with silt and clay and allows for healthy drainage.
- Sand: Sandy soil will drain much quicker than other types of soil and while it isn’t ideal for all plants, it is a good choice for those that are often plagued by root decay.
Making amendments to build healthy soil
If you notice any nutritional imbalances or want to correct a high or low PH, you can make some simple amendments.
For acidic soil, it’s likely that you’ll add lime to reduce the acidity and add some much-needed calcium and magnesium. On the other hand, alkaline soils can be corrected with an addition of sphagnum peat moss.
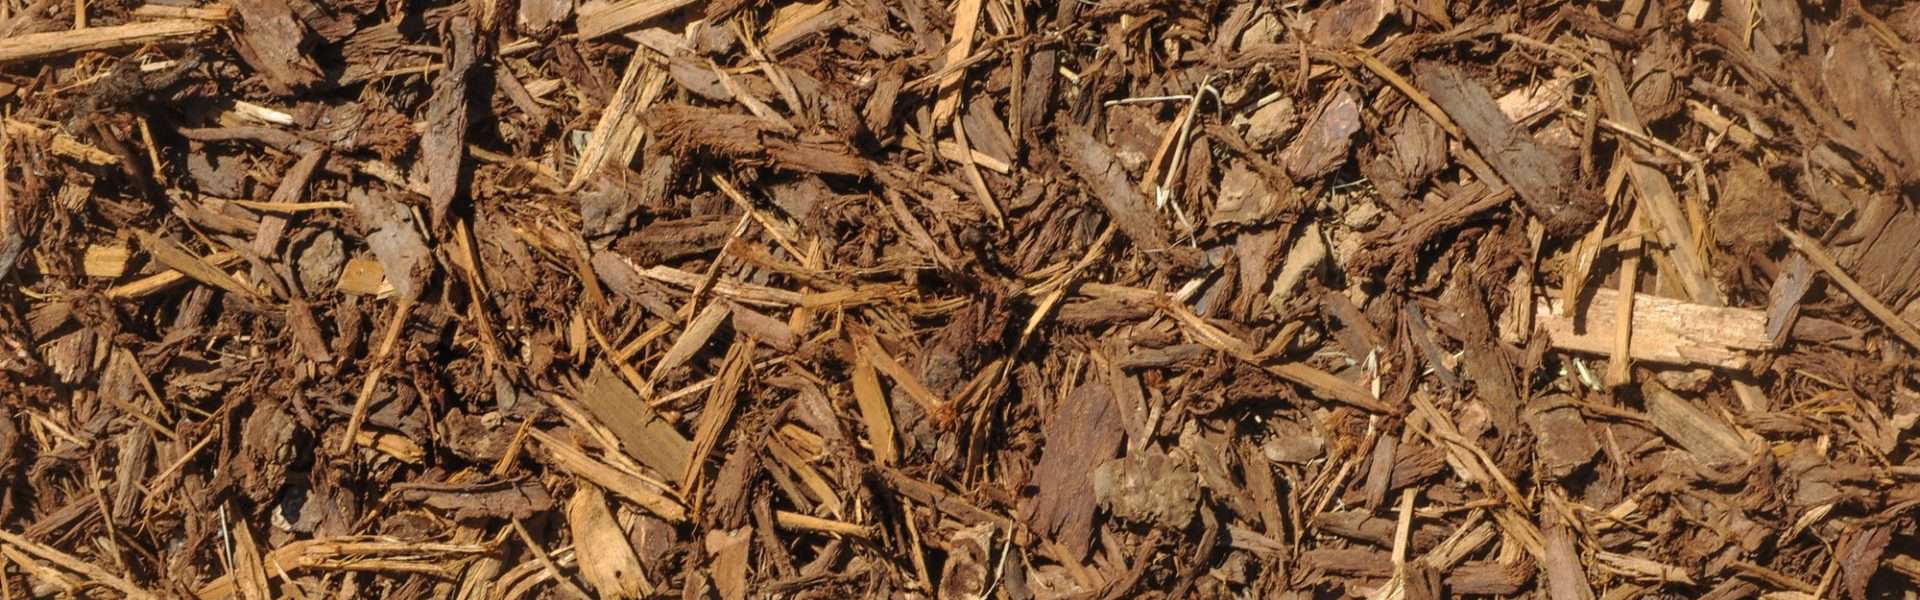
You can also build healthy soil by adding several inches of organic matter, like finished compost and/or rotted manure with either leaves, hay, bark, or straw.
How you build healthy soils will be influenced by your budget, your garden space, your soil type, and what you plan to grow. Feel free to contact us if you need any help with this step, as it will vary from garden to garden.
Know Your Growing Conditions
Check what your hardiness zone is. Before you pick out what will go in your garden, it’s helpful to know what type of flowers, plants, and fruit/vegetable crops will do well and when to plant them.
This is made much easier by knowing your growing zone. We’ve written another blog post about the 13 climate zones, but if you’re in South Shore Massachusetts, we’ll save you some trouble and let you know that we’re in hardiness zone 6b.
Understand your growing season
A growing season is the time of year when plants can grow successfully given the amount of sunlight, heat, and rainfall. In temperate regions, we can determine our growing season by figuring out the number of days between the final frost in spring and the first frost that comes in autumn.
As we’re located in hardiness zone 6b, we have a medium-length growing season that is generally considered to be from around May 1st to November 1st (varies depending on specific location and type of plant). The growing season can be extended by starting seeds indoors or adding a cold frame or other structure to keep plants warm later in the year.
Where to Plant?
Raised beds
If you choose to plant in raised beds, you’ll benefit from having less weeds, better drainage (especially in areas with clay soils), better water retention (especially with sandy soils), space for deeper root systems, no compaction from humans or pets, warmer soil, and less soil erosion (if the bed is framed).
However, there are also some drawbacks to having a raised bed. Most notably, you’ll have to purchase soil to fill the raised bed, so the cost to start gardening will be higher then with some other methods.
Additionally, in the heat of the summer, the soil will dry out faster and will require more watering. Also, come fall, the soil will cool down quicker meaning that perennials might struggle more with colder winter temperatures.
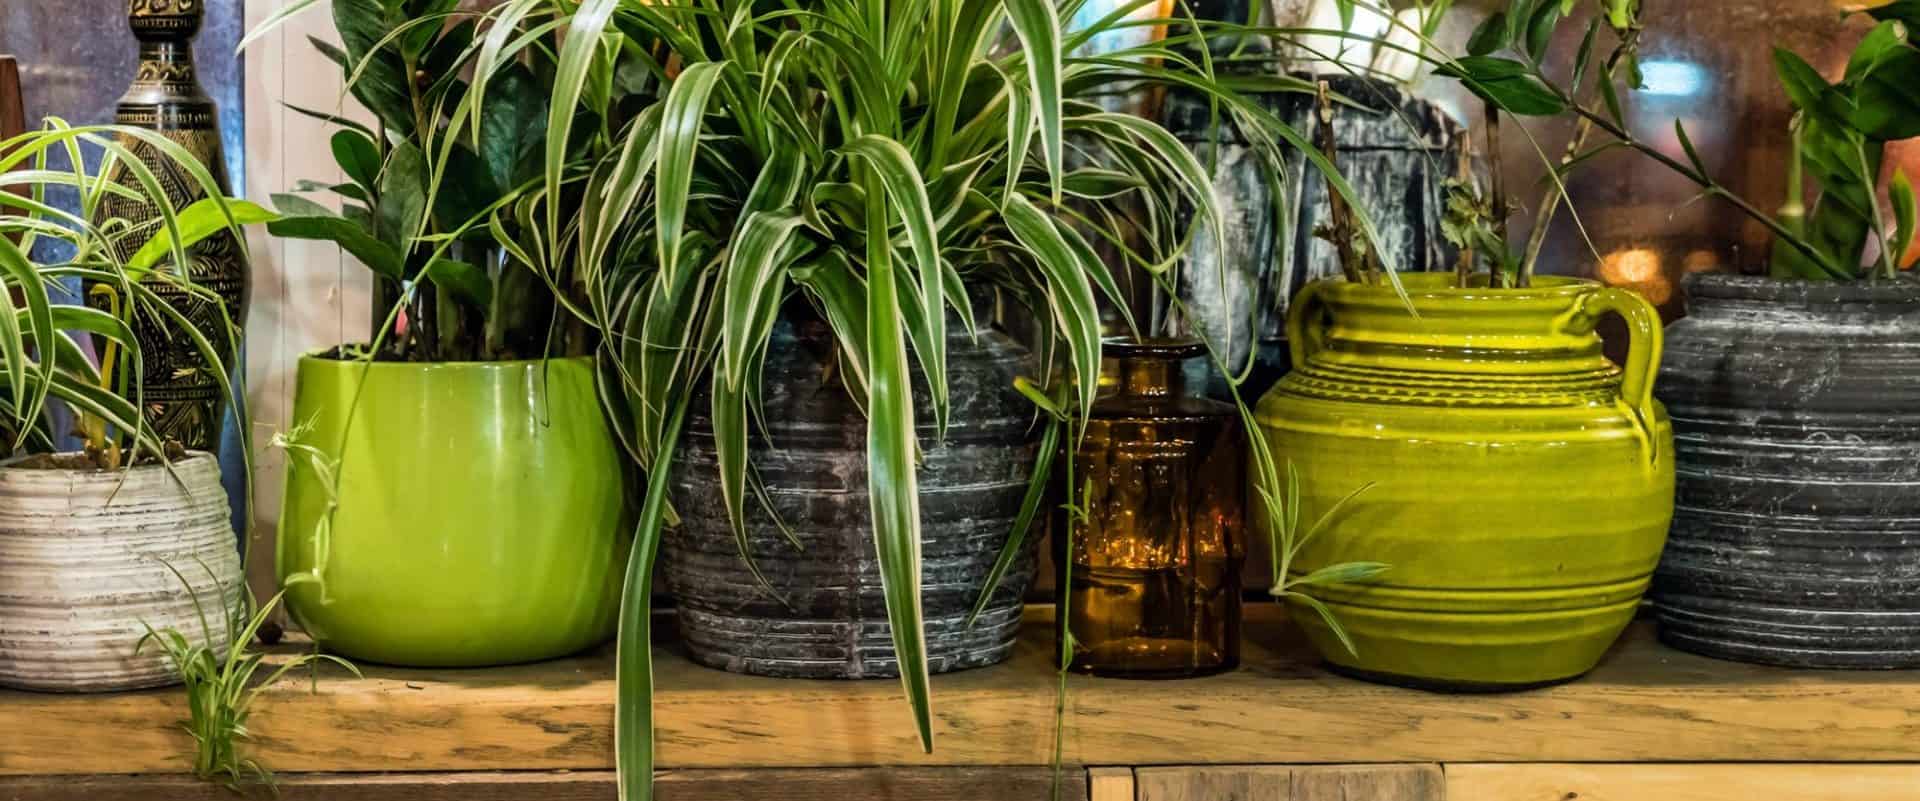
Planting in containers vs directly in soil:
Container gardening is great for people who aren’t at a permanent residence or who only have a small space to grow. Additionally, it’s an ideal way to garden for those with physical limitations that minimize how much physical activity they’re able to do. It’s also beginner-friendly!
If you’re just starting out, planting in containers can be a good way for you to understand how the elements (wind, water, and sun) affect your plants. With smaller containers, you’ll be able to move the plants around so that they’re in the most advantageous spaces for growth.
It’s important to recognize that pots will dry out faster than other methods for gardening, meaning that they’ll need more regular watering. Additionally, with a limited area for roots to reach, they might need more nutritional support (i.e. fertilizer). Lastly, you may have to purchase potting soil and the containers themselves, which might entail higher start-up costs.
For many people, growing directly in the ground will offer many advantages. Unlike the other options, you can make use of the existing soil which will save you money and time. Also, this is a less permanent option as you can either replace plants with a new crop, or cover with mulch or sow grass seed if you move or change your mind.
Additionally, growing directly in the ground will provide your plants with access to more water and will require less watering. If you decide to use irrigation, it’s also much easier to install in an in-ground bed rather than a raised bed.
While a garden located directly in the soil won’t require a lot of preparations, you will likely still want to construct a wall or an edge. Additionally, you may notice more pests as there’s less of a barrier between your plants and their habitat.
How to decide what to grow
Once you know when and where to plant, you can get to the fun part—determining what to plant!
So, set aside a weekend (or three!) and plan on devouring some seed catalogs. When it comes to plants and flowers, you don’t want to consider not only the aesthetics, but also the requirements of each type of plant, as well as their size. You’ll likely want to explore a range of different types of plants including shrubs, vines, ground covers, perennials, annuals, and even trees if you have space.
Ultimately, making a garden plan will require you to think about what is most important to you. Do you want something that is easy to maintain? Do you have a favorite flower that you’ve always wanted to grow? Do you want to support your local ecosystem with native plants? How about supporting beneficial bugs with pollinator-friendly plants?
You can also consider the utility of each plant. You might want to choose plant species that serve a specific function, like providing shade, privacy, or a windbreak.
If you’re going to incorporate a vegetable garden, it’s important to consider what you like to eat, what you’ll be capable of eating (we’ve all ended up with enough zucchini to feed a small nation…), and what you’ll have time to maintain.
Consider microclimates
Planning your “perfect” garden will allow you to control the weather. Okay, no, you can’t control the weather but you can create various microclimates to help your garden thrive.
You can warm the soil by using plastic poly tunnels or simply laying black or brown plastic directly on the ground (which can also dry the ground after an especially wet winter).
You can also use thermal mass to help create warmth, which is especially helpful for vegetables that like it hot (tomatoes, eggplant, peppers). This can be as simple as using filled water bottles to store heat that will be released in the cool spring evenings (and a great way to reuse plastic bottles!).
Alternatively, you may want to consider shading some plants from the scorching summer sun. To help, consider planting taller plants closer to shade out shorter ones that will prefer a break from the heat (spinach, radish, cabbages, carrots, etc.).
Know what can be planted together
This brings us to an important strategy that works especially well for food plants: companion planting!
As the name suggests, companion planting entails growing plants close together that will support one another. This is a very tasty tactic, too. For instance, basil and tomato is not only a delicious summertime treat, but the two also help each other grow better.
Some flowers like marigolds and nasturtiums can be planted close to vegetables like cucumbers, as they’ll repel pests like beetles and aphids. There’s a lot that can be said about companion planting (stay tuned for another blog post!), but fortunately companion plants guides are abundant on the internet and a simple search can help with your garden planning.
Know How You’ll Water
As a rule of thumb, you’ll want to ensure that your plants get at least an inch of water every week. This is a bare minimum and some thirsty plants will need closer to two [10].
A better method of watering involves the notion of a “deep watering.” This is because a thorough watering that really soaks through is considered to be better for plants than regular, superficial waterings.
What exactly does this mean? Well, in an adequate deep soak, the soil should be moist at least eight inches below the soil surface. This is important because it ensures that the roots have access to water and, more often than not, those roots will extend deep, not remain close to the soil surface.
Bear in mind that if you just provide an inch of water or do a quick spray every day, it may evaporate quickly—especially during the dog days of summer. If you plan on manually watering and your plants become accustomed to regular water, they may develop root systems dangerously close to the surface of the soil. Also, you’re training them to become dependent in your water routine—which likely isn’t best for you or the plants.
As a part of your garden plan, you’ll want to consider how you’ll be watering, if you’ll have the time to devote to it, if you have the budget for a higher summer water bill, and if you have the finances to purchase new hoses or an irrigation system. It’s better to determine all of this now, not when you’re looking at a wilted, brown tomato plant.
Watering Best Practices
There’s a lot to be said about H20 and your garden, here are a few best practices to help you out:
- Consider drip irrigation: If you have an area that will be a permanent garden bed, consider installing drip irrigation. It can take all of the guesswork and reminders out of regular watering as it automatically does it for you! You can even choose a flow rate that’s optimal for specific plants.
- Avoid watering the leaves: Focus the watering can, drip irrigation, or hose on the area where the roots are. Soaking the leaves may weigh them down and damage the structure of the plant, and it may also minimize the amount of water that gets down to where it’s needed.
- Check the soil prior to watering: Want an exceptionally useful tool for checking your plant’s hydration levels? You’ve got one! Simply use a finger to probe a few inches below the soil’s surface. If it’s dry, time for water. Still damp? Check again tomorrow.
- No need to speed: Watering isn’t a race, and slower watering will absorb more efficiently and minimize soil runoff.
- Water at the optimal times: You may be craving an ice cold drink at the middle of a July day, but this timing won’t satisfy your plant’s thirst in the same way. Instead, water either early in the morning or early evening so that there’s less evaporation.
- Find that perfect amount: Re-read the story of Goldilocks and use it as inspiration to find that amount of water that’s just right. Too much water and you might create conditions for bacteria and disease; too little and you may cause permanent damage or prevent flowering/fruit production.
- Mulch can help: A thin, even layer of mulch can help prevent evaporation and reduce runoff.
If you need help taking care of lawn, you can give us a call to give you a free landscaping service estimate, or you can read our how to keep your grass green article.
Prepare Your Gardening Supplies
What tools should every gardener have?
When it comes to must-have garden tools, you can probably get by with around 10-15 essential items, depending on the size of your garden and what you’ll be maintaining. None of these are very expensive, nor will they require a lot of space to store. They’ll also make gardening easier, more productive, and even more fun!
What are the 10 most common gardening tools?
- Digging shovel
- Pruners/pruning shears/secateurs
- Garden rake
- Leaf rake
- Digging fork/spading fork/garden fork/graip
- Wheelbarrow
- Hand trowel or hori hori garden knife
- Garden gloves
- Garden spade
- Garden hoe
- Weeder
- Loppers
- Edger
- Garden hose with adjustable nozzle/watering wand/watering can
- Hand saw
We sell all of these at our local garden center and plant nursery in Holbrook, MA.
When to plant vegetables
Flowers, vegetables, and all plants have their own respective times of the year when it is most optimal to plant. When to start your garden will depend on what kind of flowers or vegetables you are growing. You must research the best times for each plant, and then create a planting schedule for them by grouping them into time of year.
We offer a variety of online resources for beginning gardeners like PDF’s of the New England Vegetable Growing Chart.
For example, in the image below of the intermediate crop planting schedule, if you wanted to plant Basil, the best time to put the plant seeds or transplants in the garden is between May and August.
………… Plant seeds directly into garden
xxxxxxxxx Plant transplants or sets..
xx..xx..xx Plant seeds or transplants.
When to plant flowers
Planting flowers at the right time is imperative to their successful growth. You’re going to want to consult our wild flower planting schedule pdf to see when is the best time of year to plant your flower of choice. For example in the image below, the best time to start growing Golden Alexanders is mid May to mid June.
Direct sow vs transplanting
For many gardeners, a combination of directly sown seeds and transplants (also known as “starts”) will be used, and while there are some plants that will have a preference for one, you’ll likely make your decisions based on your personal preference and the amount of time and space you have available.
Direct seeding
There are certain plants that won’t tolerate being transplanted well. These include taproots (carrots, beets, radishes), as well as spinach, snapdragons, and nasturtiums—among several others. The vast majority of plants, however, will do well with either being directly sown or transplanted—meaning that the decision is yours.
If you’ve got the time, and the space, and have spent the dreary winter days devouring seed catalogues, you might realize that starting plants from seed provides you with a lot more versatility and choice. The varieties are nearly endless—and much more than you’ll see when you’re shopping for starts at your local garden center.
There are some other benefits to keep in mind, too:
- Starting from seed can be more cost-effective, especially if you save seeds from a previous year, or do a seed swap with neighbors/friends.
- If you have a big garden space, or plan on growing a lot, direct sowing is generally a quicker process.
- If you plan on direct sowing, you won’t require any special equipment (like a greenhouse).
However, there are a few drawbacks to consider when it comes to direct seeding:
- The conditions when you do plant are more important, as the seeds will be more vulnerable to hazardous weather (like high wind, flooding, and drought).
- We enjoy eating plant seeds—and so do pests like mice, snails, and birds.
- Because of their small size and slowly developing roots, directly sown plants may have a difficult time competing with weeds.
- While the sowing process itself is relatively simple, it will likely require a few rounds of thinning—especially with small seeds.
Transplanting
Accessing baby plants is advisable for those of us who want to get directly outside—without having to prepare anything. Transplants can be purchased in several different places (hardware/garden stores, local farms, some grocery stores), and can even be ordered online and delivered to your house!
There are several other pros of transplanting:
- You’ll have more control over the process, and your garden dreams will likely be more predictable.
- You’ll get a jumpstart on the growing season because the time between planting a baby plant and maturation/harvest is shorter.
- Because they’ve already had time to grow and develop roots, transplants may be more resilient against insects and pests, and are also better capable of withstanding rough weather conditions. However, this will likely require you to “harden” your plants, by introducing them to weather conditions just a few hours at a time.
There are also some drawbacks to transplanting:
Depending on where you get your transplants, you may unknowingly introduce diseases or weeds into your garden when you plant them (most commonly this includes grass or weed seeds).
Compared with direct sowing, your newly-transplanted plants might require some additional maintaining in the early days. They’ll need more through watering and care so that their roots adapt healthily to their new conditions.
How to start seeds indoors
Want to take both of the above processes into your own hands? If you have the adequate facilities and equipment—anything from a sunny window to a greenhouse or plant nursery—you can start seeds indoors and make your own transplantable plants!
Starting your own seeds will allow you to experiment with different varieties, select only the strongest performers, and speed up the growing season—meaning an earlier harvest date. They also provide you the opportunity to extend the growing season, which is especially helpful for anyone in short season climates.
The vast majority of seeds can be started indoors, but many people prioritize long season crops like tomatoes, broccoli, kale, and eggplants [11]. Most seed packets will include information about starting seeds indoors, but here’s the general process:
- Acquire a good potting mix/media, supplement nutritionally with liquid fertilizer or finished compost.
- You can choose to recycle items you have laying around the house (old yogurt containers, newspaper, or even egg shells!) or purchase plastic/paper transplant containers.
- While the specific recommendations will be on the seed packet, a good rule of thumb is to plant the seeds at a depth that’s twice as big as the seed’s diameter.
- Temperature and light are important. For many plants, a sunny window will suffice, but another general guideline to consider is that germination will require temperatures roughly 5-10 degrees higher than what’s necessary for growth (around 70-80℉).
- If you find that natural light isn’t cutting it, a grow light might be required.
- You’ll want to check the water every day, at roughly the same time. Consider that overwatering can be more problematic than underwatering.
Getting Rid of Pests
Slugs, snails, rabbits, oh my. As you’ll quickly learn, you’re not the only one impressed by that beautiful black eyed Susan or those almost-ripe tomatoes.
Fortunately, your toolbox for keeping pests at bay can be easy to develop—and as a gardener, you’ll constantly pick-up new strategies throughout the years.
Keep in mind that a good pest-free garden spot starts with healthy soil. With this in mind, you’ll want to disturb the soil as little as possible (which will help benefit the living systems that already inhabit it). You can also add compost or mulch to make your soil healthier, and consider things like cover crops and crop rotations to outsmart pests.
Bugs can be our worst nightmare, but they can also be our friends. You can figure out which bugs are beneficial for a specific plant, and create the perfect conditions for them to thrive. Welcoming beneficial predators is one of the best non-chemical ways to address pests, and you can even use native plants to help you get there.
Another non-chemical pest control solution entails mechanically removing pests, either by hand, with water, or with an insect vacuum. You can also put up a barrier (fence, netting, etc.) to keep out some larger pests.
Insecticidal soaps, horticultural oils, or chemical pesticides (organic and non-organic) can be a last resort for pests that just won’t leave. The internet is also awash with DIY kitchen remedies for dealing with garden pests.
7 ways to eliminate pests from your garden:
- Maintain healthy soil
- Crop covers and crop rotations
- Create scenarios for beneficial bugs to your plants to thrive
- Welcome beneficial predators with native plants
- Remove pests by hand, water, or insect vacuum.
- Fencing or netting for larger pests
- Insecticidal soaps, horticultural oils, or pesticides (organic and non organic) as a last resort.
Vegetable Gardening Considerations
What are the easiest vegetables to grow?
So, you’ve decided to try your hand at growing food crops? Congratulations! You’re joining a blooming number of people who’ve decided to transform their backyards or patio space into a food-producing slice of paradise!
Here are some of the top easiest New England food crops [12]:
Vegetables
- Cucumber
- Eggplant
- Peppers
- Tomatoes
- Zucchini
Fruits
- Blueberries
- Grapes
- Raspberries
- Rhubarb
- Strawberries
Supporting food plants
There’s an abundance of information available for how to support specific fruit and vegetable plants, but we’ll provide some quick tips for those getting started (expect a more detailed blog post to come!).
How much light do plants need?
As a rule of thumb, your fruits and vegetables (and most importantly those that fruit—tomatoes, eggplants, peppers, etc.) will need a full eight hours of sun a day. Shadier conditions are suitable for some herbs and leafy crops.
It all starts with the soil. The quality of the soil can make or break your plants. Finished compost, animal manure, or fertilizers can help add essential nutrients.
START SMALL. You may dream of having a backyard farm to meet all of your food needs, but it’s a better idea to start with a few food crops and then continue adding more as you become a more confident grower.
Get ready to water, weed, and feed. You’ll likely be spending more time in your garden then you anticipate. Between regular waterings, occasional weed control, and harvest time, plan to be outside more.
How to Grow Annuals
For help with growing annuals, check out our recent blog post on 10 New England-ready annuals!
Common perennials and how to grow them
Perennials are an essential part of any garden. They’ll provide color and texture year after year—especially if you choose species that have a long lifespan.
Here are 5 perennials that are well-suited to our zone 6 climate [13]:
- Astilbe (Astilbe spp.): Tall purple, pink, or white flower plumes that bloom well into summer. Prefers full sun to part shade.
- Bleeding heart (Lamprocaponos spp.): Lower-maintenance plant with beautiful pink, red, or white flowers. Prefers part shade.
- Columbine (Aquilegia spp.): The Eastern red columbine (Aquilegia canadensis) is native to the northeast US and commonly chosen as an early spring bloomer. Flowers are a range of colors and most will self-sow. Prefers full sun to part shade, can adapt to any soil.
- Daylily (Hemerocallis spp.): It’s hard to go anywhere without seeing a daylily! They’re perfect for beginner gardeners and are available in an endless range of colors. Prefers full sun to part shade, can tolerate any soil.
- Peonies (Peonia spp.): Peonies are well-suited to a northeastern winter chill and these are some long lasting plants—decades if well established. Prefers full sun to part shade.
Tips for successful overwintering
Being a perennial means that your plant will have to survive the winter snow, wind, and ice cold temperatures. We can also give our favorite perennial plants a helping hand by providing them with some support for successful overwintering.
Each plant will have specific recommendations, but here are some general tips:
- If you’re growing in containers, consider bringing them inside or digging the containers further into the soil to help regulate the temperature. You can also surround the exterior with mulch, leaves, or straw.
- For plants that have tubers, bulbs, or corns that have a dormant period, you can dry the roots and overwinter them inside. Simply cut back any foliage and dig up the bulb. Then, remove all dirt from them and allow them to completely dry. These are best kept in a cool, dark, and dry area like a garage or basement.
- For perennials left outside, supply them with an insulative layer of mulch to keep them covered and warm during the winter.
Growing Succulents
This may come as a shock to many people, but there are some succulents that can tolerate USDA zones 5 and 6, making them a great choice for gardens in South Shore Massachusetts.
You will want to look for hearty succulents, like those that have thrived in Northern climates and have a dormant period during winter. Some popular options include:
- Hens and chicks
- Prickly pear
- Sedums
- Walking stick cholla
- Ice plants
Hardy succulents can either be grown directly in the soil or in containers, but they will require a well-drained style. This means that if you have soil high in clay content, you will want to mix in perlite, sand, or coarse grit. Most succulents can also be overwintered outdoors, just be sure to regularly check to ensure that the soil doesn’t become soggy.
Final Thoughts on our Complete Guide to Gardening
At the end of the day, this should be considered a guide to gardening, not a complete list of directions.
Every garden space differs, just as every gardener and plant will have their own specific conditions that they thrive best in. That said, be ready for some trial-and-error, and several lessons as you develop your green thumb. As always, we’re here to help. Just get in touch with any questions or if you need a helping hand.